I rambled a bit about trying to get decent night photos from a compact camera in that previous post, but now it's time for some random thoughts about "marco" photography with compact cameras. Macro photography can be simply defined as capturing small subjects. Technically, a macro shot is when the light image that hits the sensor is close to the same size as the actual subject (thanks, Wikipedia). Think of a mountain landscape: on the sensor, the "picture" will be small. If you capture an insect at a macro level, the "picture" on the sensor will approach the size of the insect in real life. This differentiation is important to pros because it changes the mechanics of lens/light/etc. I don't know such details, but try to take macro shots anyway.
There are two methods of going macro: either use a zoom lens (that can focus in a macro setting), or put the front of the lens really close to the subject. For campact cameras, even ones with quite a bit of zoom like my now-dead Canon SX200IS, only the second is really available. Here is one of my favorites taken in garden here in Germany. (Don't jump!)
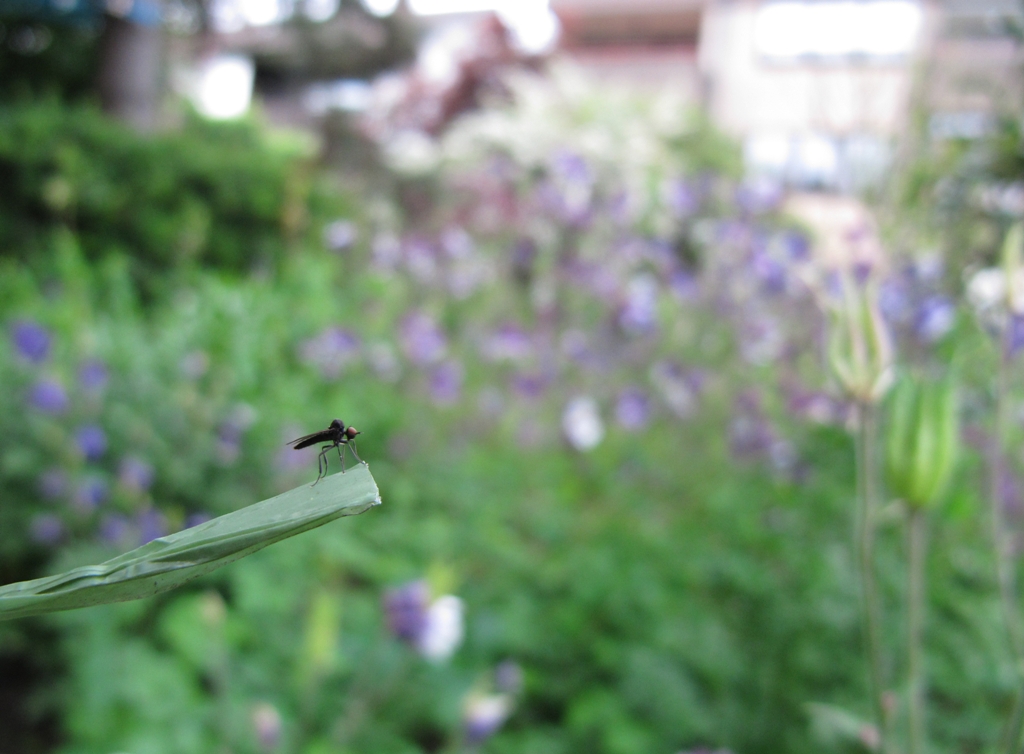
In this case, the front of the lens was probably 3cm from the insect itself. Many DSLRs have a minimum distance between lens and subject, often measured in feet. Fortunately, most compact cameras today have the minimum distance specified in centimeters, and some are effectively 0cm! In other words, the subject can basically be touching the front of the lens, but the camera will still be able to focus and capture the shot. For whatever reason, this insect allowed me to get the lens to about 6cm from it. The colors turned out great, and there was not a lot of movement so I didn't get much subject blur and got some neat detail.

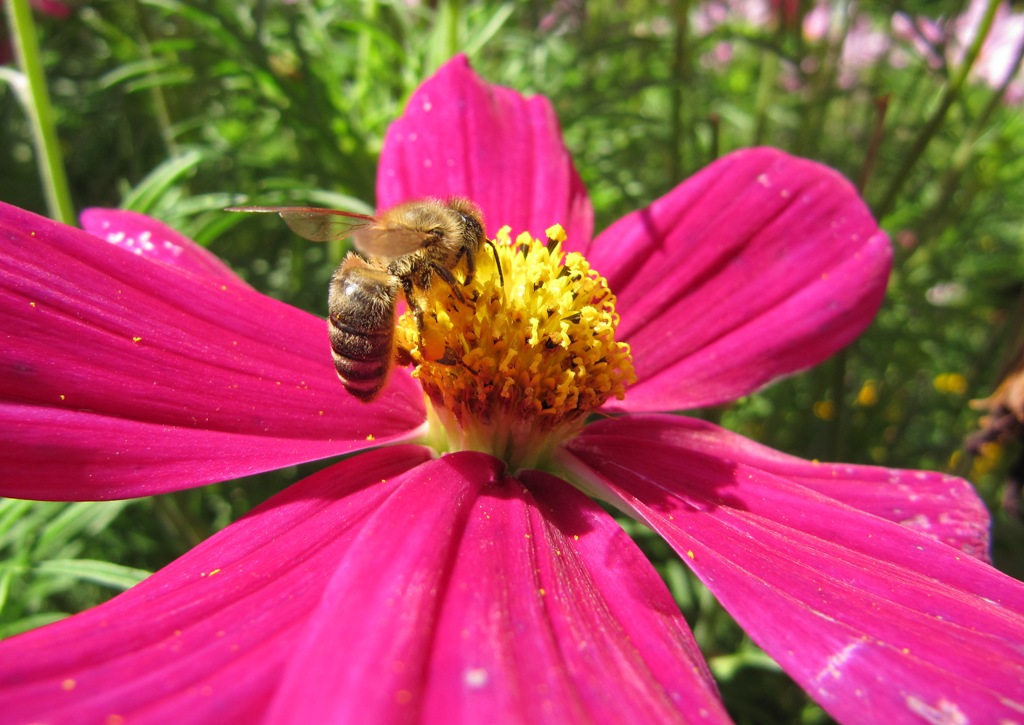
The challenge of getting the lens so close to a subject is not only that the subject may be disturbed and move away, but the camera itself starts to cast a shadow -- because the lens is so close to the subject, it starts blocking light from reaching the subject! In this example below, the day was clear and the sun was bright. However, the sun was overhead, so getting too close for a top down pic just made it dark. Therefore, I had to change my angle to ensure enough light hit the bee. It creates a nice effect on the flower, but I could not get nearly as close as with the prior photo.
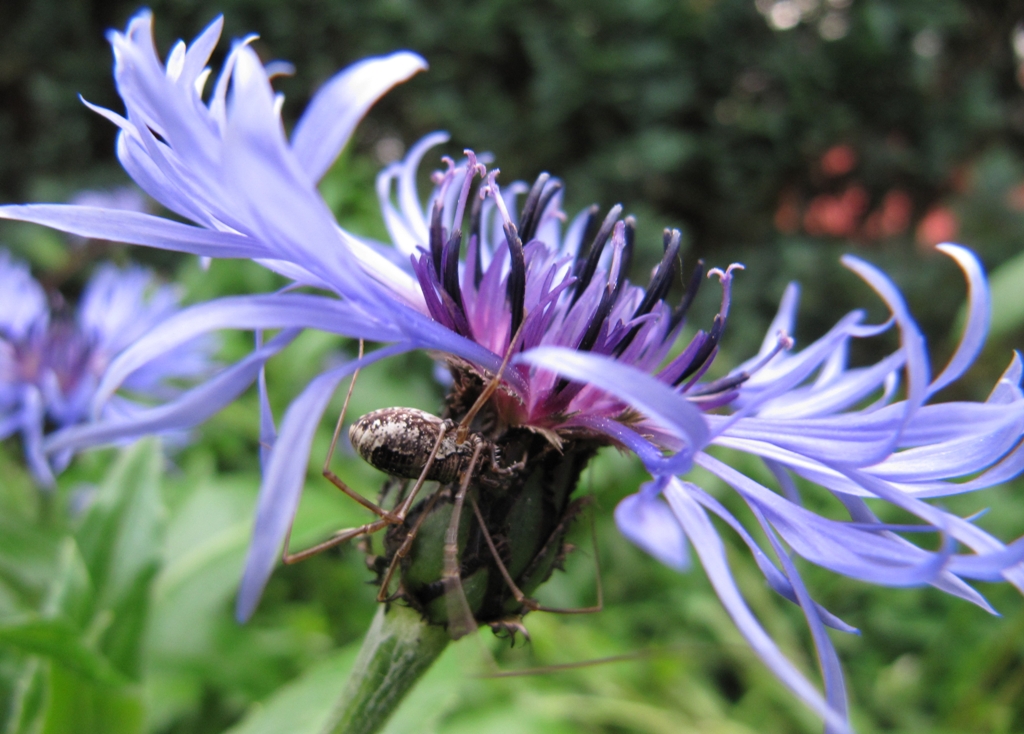
Even with the bright sun (and therefore lots of light and a fast shutter speed) insects are difficult. They move lots, and quickly. In the example below, the spider let me get just a few centimetes away, but was constantly moving. That made it difficult for the compact camera to achieve focus (it kept "hunting"), and when it did, some of the spider's legs are blurry. Still fun to take and look at, though.
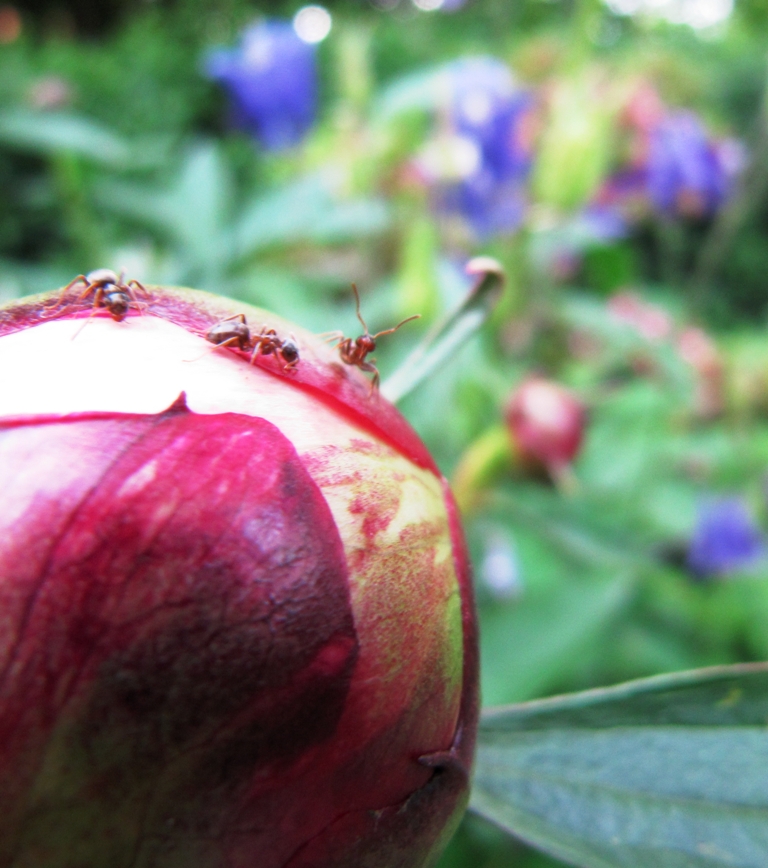
The other challenge with focusing: when the lens is that close to the subject, even with a smaller sensor you get a shallow depth of field. Notice here that I wanted to get the ants in focus, but my camera kept grabbing a part of the plant. I should have used "spot" focus mode, to tell the camera specifically where I wanted it to focus on. Too bad, the ant "checking me out" would have been great in focus!
The upside of macro photography with a compact camera (and its small sensor) is that you get some "bokeh" -- the "blurred" section in the background. Bokeh is not something you can usually get with these cameras. In this case, the blue makes an interesting addition to the scene.
Like night photography, these are not professional examples, but fun for me. I really recommend you experiment with your camera. It can be fun to see what comes out, just don't get bitten.