


How to Build an Igloo
Late in 2010, Frau A and I had scheduled a vacation to Japan for the Spring of 2011. Unfortunately, a couple weeks before our scheduled departure, Japan was struck by the Great East Japan Earthquake and resulting tsunami.
So we had to cancel the trip, but send best wishes that the recovery and rebuilding process continues successfully -- we can't wait to visit in the future.
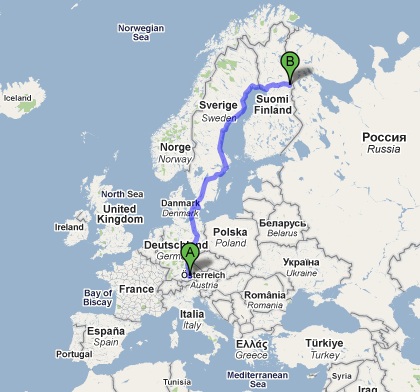
Given the last minute options, we decided to have one more winter adventure... in Finland! We went all-in, flying to Helsinki and then on to Kuusamo, which is only 37 miles (60 kilometers) below the Arctic Circle. The specific destination was a small site called Basecamp Oulanka, just outside Oulanka National Park.
We'll have many more posts on our vacation, because each day we did a different winter sport or activity including ice climbing, snow shoeing, cross-country skiing, and more. But on the first day, we built an igloo and slept in it that night!
Here's how it went...
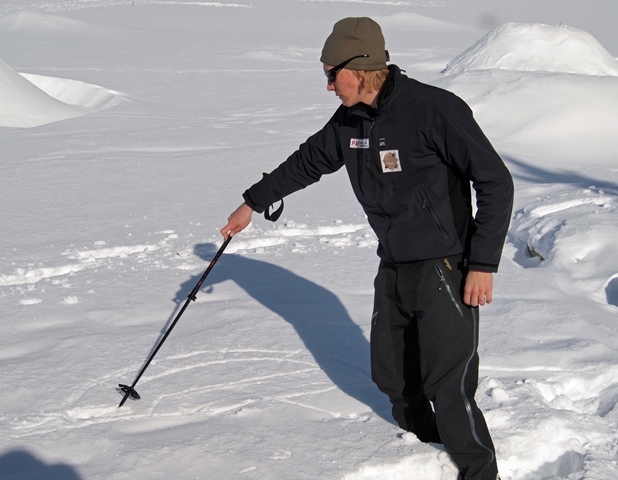
Step "0": Get some up-front instructions from the local guide. Of course, the rough-sketch diagrams are drawn in the snow (a "Finnish whiteboard," if you will). He described the end result and process to get there. One interesting aspect is that the entrance should start right on the ground, but then have a small "step" up to the sleeping area. The sleeping area should be a foot above the ground so that cold air does not easily flow into the structure.
Step 1a: Start shoveling snow into a big pile. A lot of it. Because the temperature was so low, the snow was still "crisp" rather than wet. Therefore we were not using blocks to build the igloo (that's another technique) but rather piling the snow and (later) digging out the inside. The diameter of the dome's base has to be enough to fit the number of people you expect to squeeze in there. In our case, we planned to sleep four people.
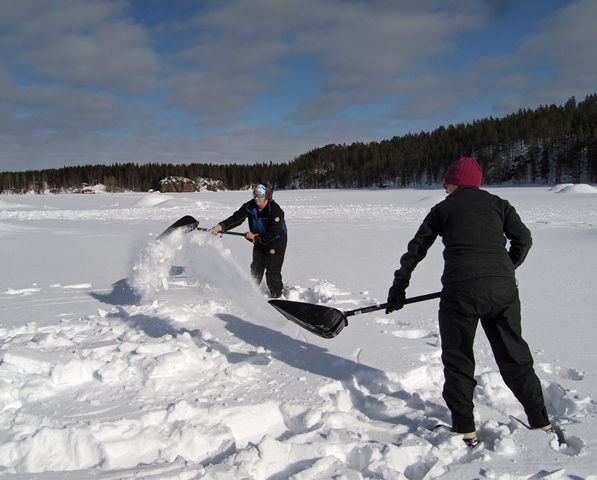
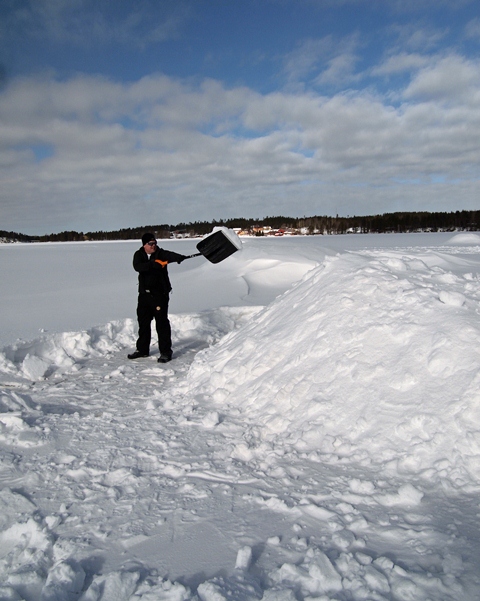
Step 1b: Keep shoveling... Even with four people working hard, it took us three hours to get the pile head-high. Luckily, the sun was out (beautiful weather, actually). It's hard to see here, but we are making the igloo on a frozen lake -- on top of ice a meter thick!
Finally finished with the snow pile! Here is Frau A, triumphantly posing atop the mound that theoretically would house four of us overnight...

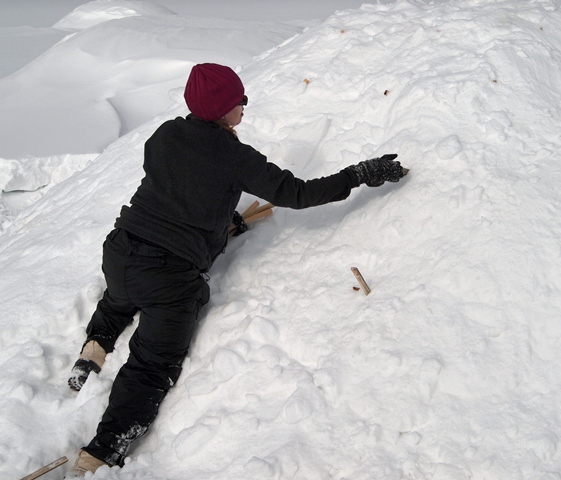
Step 2: After you've patted down the snow pile (to remove air pockets), insert ceiling markers. The ceiling of the igloo ideally should be about a foot thick. This is the right thickness for strength, but not so much mass that there is a danger of it collapsing. So, while the snow is still freshly piled, we took wood pieces about a foot long and inserted them into the dome, about 2-3 feet apart. (Maybe 30 in total, around the entire dome) Later, when digging out the inside, we will stop when reaching these markers and automatically have the right ceiling thickness.
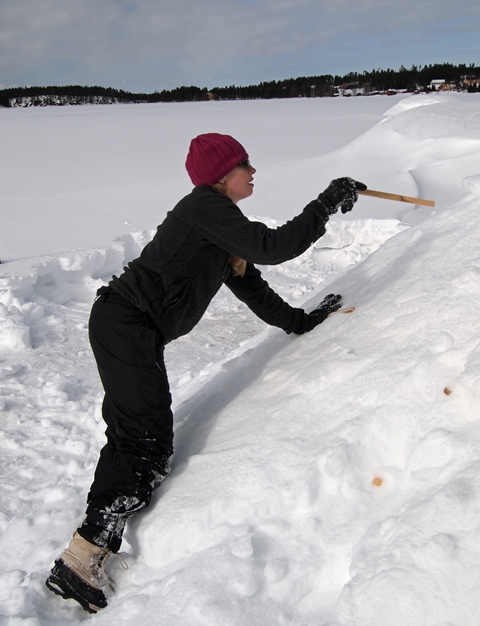
Below is Frau A inserting more ceiling markers. Because you have to have them everywhere, you must climb on top of the pile too. That's OK, because we need it to settle down and this just helps the compacting process.
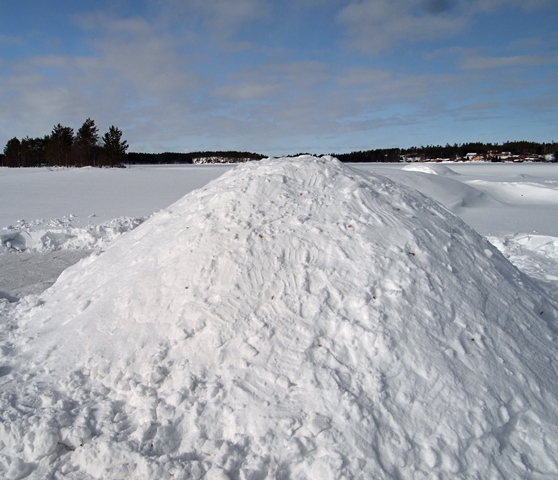
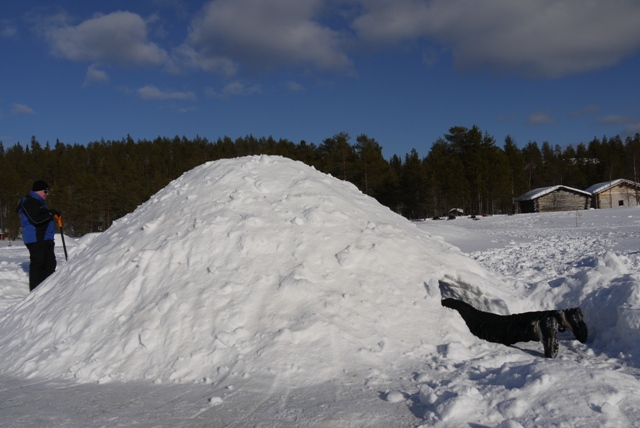
Ta daa! The pile of snow is now complete, the ceiling markers are inserted, and you are officially tired after 3+ hours of work. This is what it looks like:
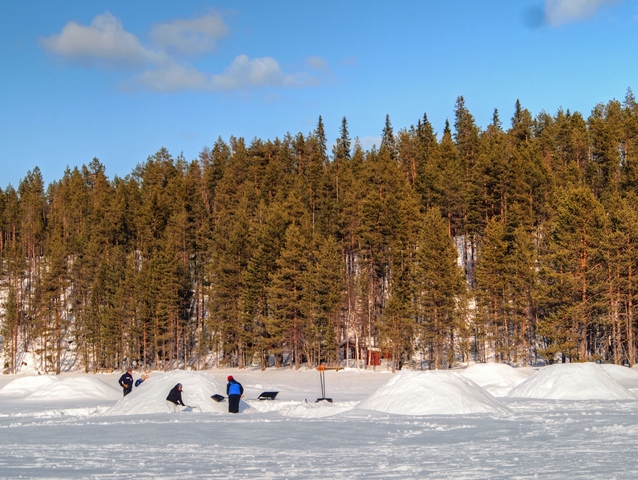
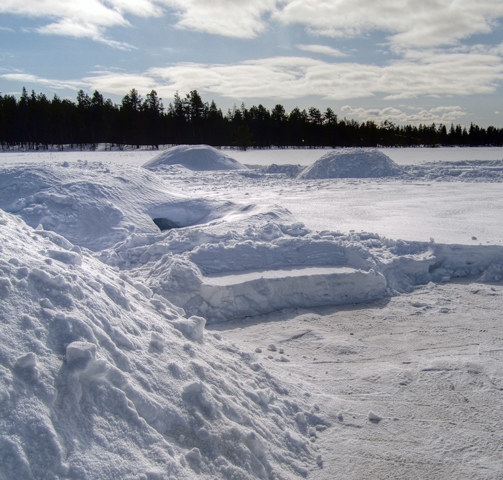
There were a few other small groups with us on the adventure trip, and human/competitive nature dictates that we spy on them and see what and how they are doing... (Note: all the other piles are old igloos from vacationers in the previous months. Still there, and still holding strong.)
We were a little ahead of the other group (our South African and British partners shoveled snow like machines) so we decided to add some creature comforts... a snow bench outside! We're hoping it increases the resale value, of course.
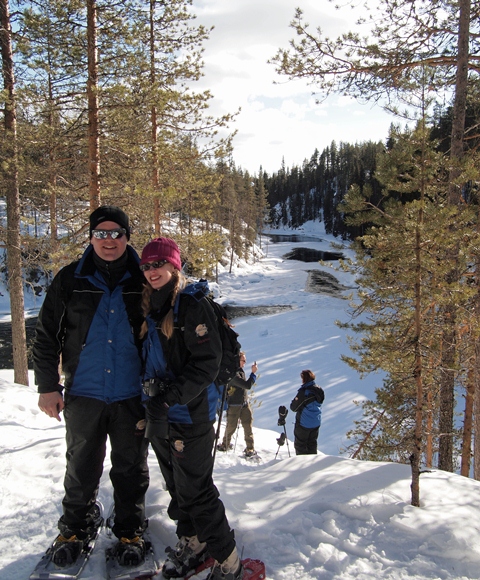
Step 3: Wait. You need to let the snow settle for a good 3 hours. Fortunately, the sun was strong and that warms the snow and helps it compact. In this time, the entire group went show-shoeing along the local river. (In Summer, vacationers go white-water rafting here.) Here are Frau A and I taking a photo stop along the snowshoe hike.
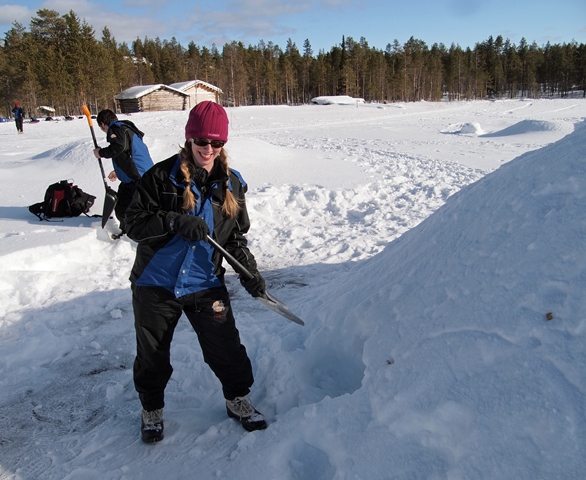
Step 4: Dig out the inside. It's now later in the afternoon and it's been a pretty active day already, but we took another 3+ hours to finish the structure! Naturally, an experienced Finn could probably do the equivalent work in half the time. Start by choosing an entrance point facing leeward -- you don't want arctic blasts coming in the front door. This takes most of the time, because as you enter further into the snow mound, it is harder to excavate in a tunnel with such a small diameter.
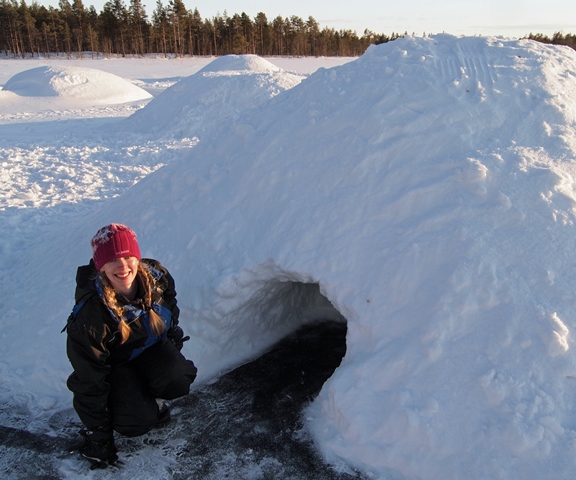
The next photos are a better illustration of the difficulty in clearing snow from a small entrance - you have to work yourself inside and slide it past yourself, while someone outside removes it.
x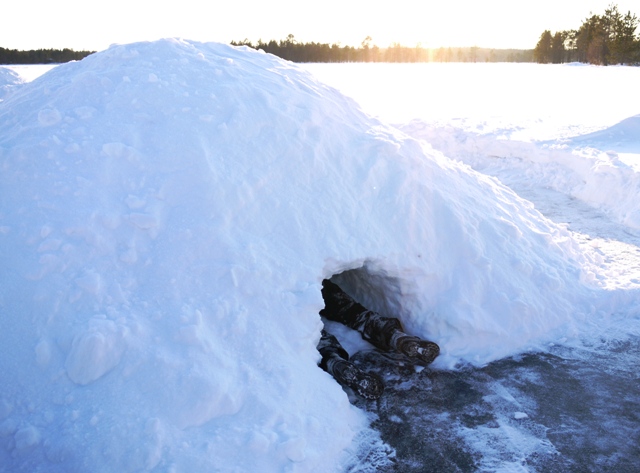

Below you can see the finished entrance. We also cleared the snow down to the base of lake ice. Gotta keep up appearances so the neighbors don't complain!
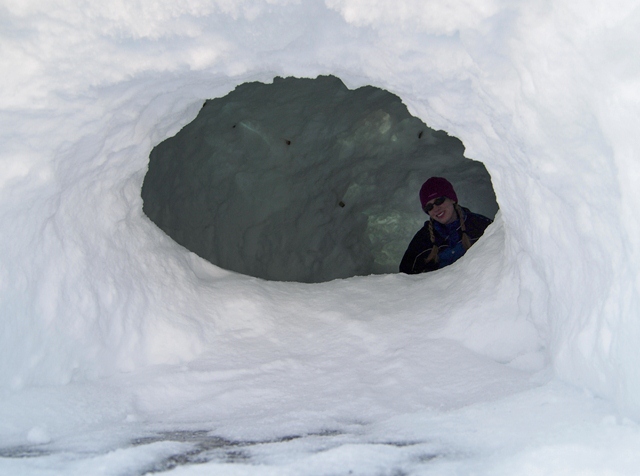
Once you have removed enough snow from the inside to fit a couple of people, the rest goes quickly. Two of us were inside, scraping snow until reaching the ceiling markers (you can see them in the photo below) and the other two were helping remove it through the tunnel. When finished, this is what it looked like shuffling yourself through the entrance. Notice the ramp of snow, up from the ice to the sleeping level. Not only does it help prevent air flow with the outside, but it's more comfortable to sleep on snow vs. ice.
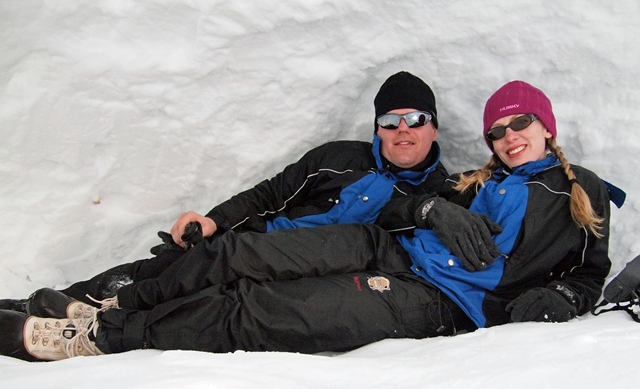
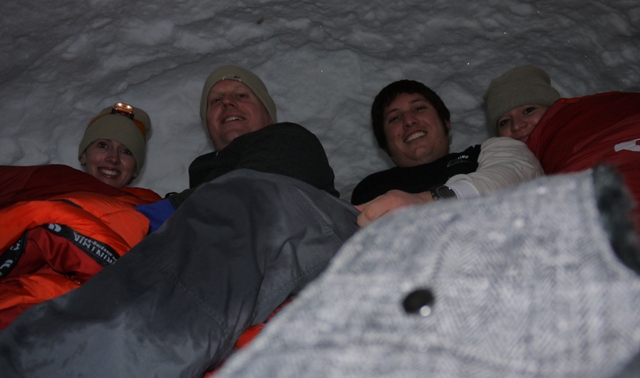
Done! Time for a well-deserved break inside the igloo. The structure did fit four people, but of course is a little cramped. Stray arms and legs invariably send scraped snow falling from the dome above, but overall it worked well.
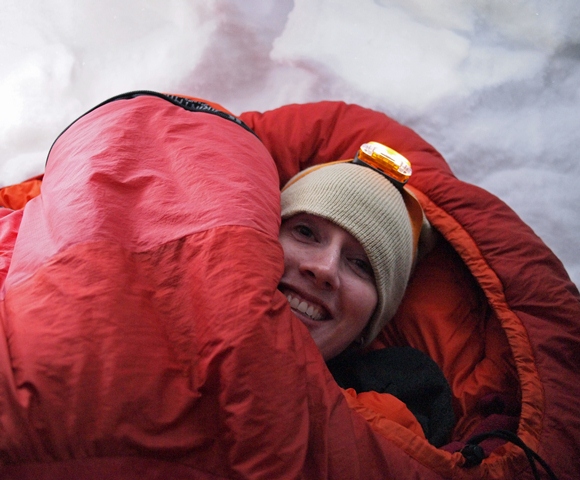
Step 5: Set up for sleep. In this case, we had thermal camping pads underneath warm sleeping bags, and wore winter clothes inside the sleeping bags too. Just our heads were sticking out, and hats stayed on. Headlamps ("head torches" to our UK friends) are very practical -- but you really don't want to have to go the bathroom outside during the night. Inside, it was a consistent 0 degrees C (32 F). Outside, the temperature plummeted to -25 degrees C! (-13 F). The igloo really worked. The main challenge was getting comfortable with the equipment.
The alarm went off at 7am... it was a great experience. The snow wasn't incredibly comfortable, and one of our partners decided to head inside after a couple of hours. But Frau A, our South African friend, and I stuck it out the whole night. Once the adrenaline dies down and you adjust to the sleeping bag constraint and lying on stiff snow, you can sleep pretty well. The toughest part was leaving the sleeping bags in the morning and heading back to the lodge! It was a great start to a fantastic vacation.
And thanks to our friends Mr. B and Ms. S too!
 Herr J ... 3 Comments Travel tagged Print Article Email Article Share Article
Reader Comments (3)
That is SO COOL! (literally ;)
This is all so cool (pardon the pun)! Love the picutres.
Fascinating! Thanks for sharing all the details.