


Making A Dirndl
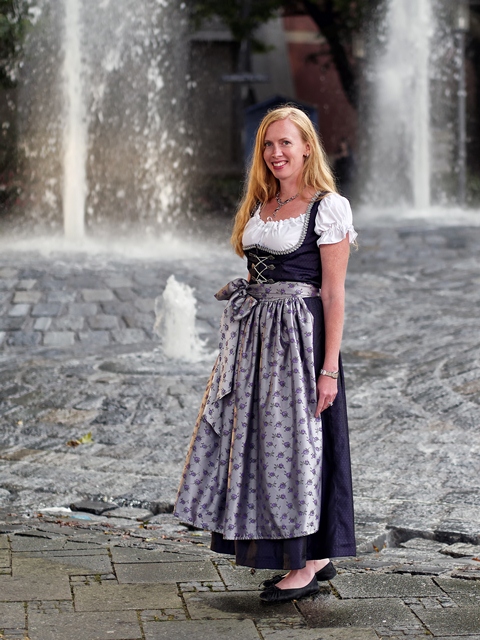
It took a year (during which I spent most of that time working too much and planning a wedding instead of sewing), but I finally finished the dirndl I started!
Probably a pretty crazy idea since I didn't have much sewing experience, but I'm so glad I did it. I learned a lot about sewing, many new German terms, and I learned a lot about trachten. I look at dirndls in a totally different way now, having sewn one. And I have a lot of respect for how well-constructed my wedding dirndl is!
Oh, and I'm pretty sure I now know then entire inventory of both the Oberpollinger and Karstadt am Bahnhof sewing departments.
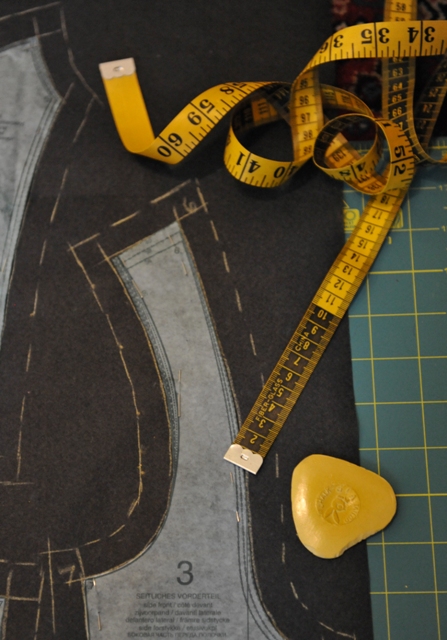
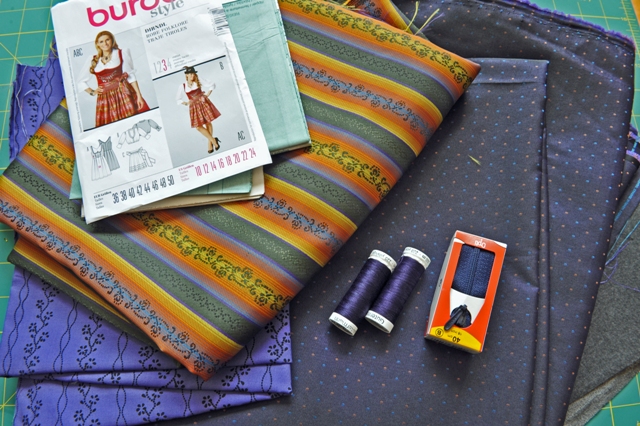
I started last year with a dream, a pattern, and a pile of fabric. (Burda #7443, for anyone who wants to try)
;)
This was the original plan...which of course NEVER quite is reality. I'll be honest, I struggled with the apron fabric. I wanted to sew the dirndl in silk instead of cotton, and it was tough then finding suitable apron fabric. I'd decided to go with this striped orange and green stuff, which would pick up the purple as well.

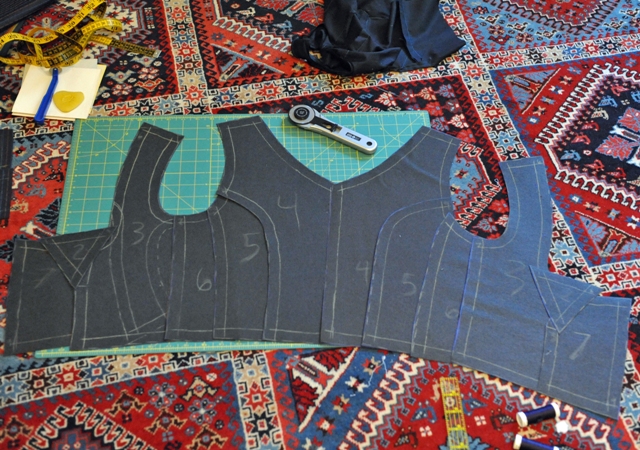
The first mishap was the lining (the lighter purple fabric), which apparently I cut out backwards. That was easily remedied, and with new lining (which I liked better), I completed the bodice. Even assuming you make no mistakes, you have to cut and mark all 14 pieces three different times (outer fabric, lining, and interfacing). Painful!! That definitely was the worst part.
I also learned an important lesson about not deviating from the pattern. I was a little worried it would be too tight, so I sewed them together with less seam allowance than indicated. Which would have been fine, except that in the end it was a little too big. Taking in the seams normally would be no problem, but it was a bit trickier with trying to make the same alterations to the lining and have everything still fit together!
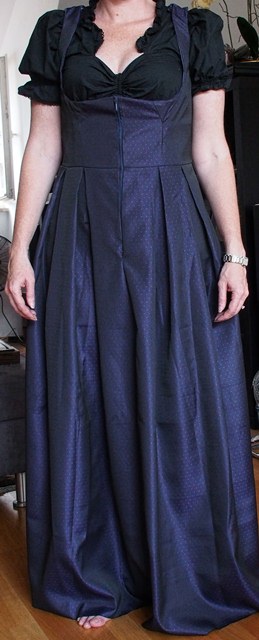
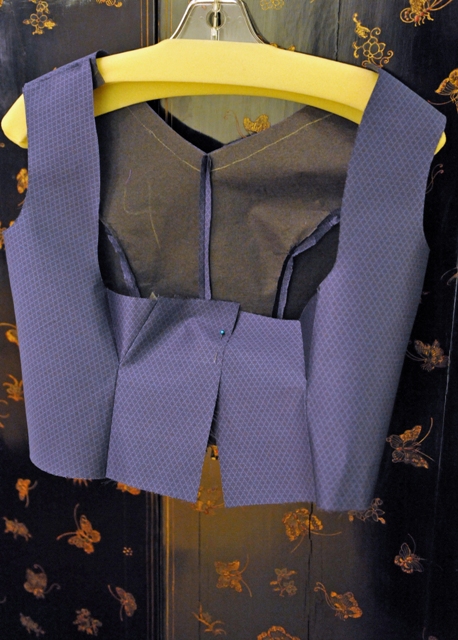
But the bodice turned out well and the skirt perfectly. And then it sat for months.... at first I was a bit afraid to finish it since I'd gained some extra weight. But then after a successful workout regimen that was no longer an excuse. I had to just face the fact that I was scared to sew the two pieces together!
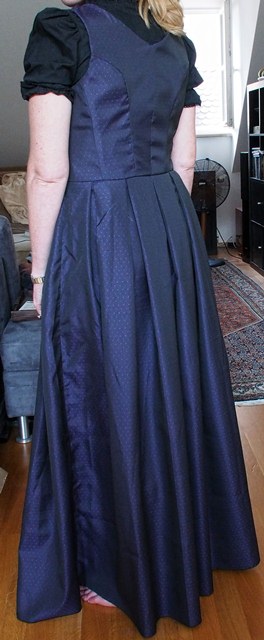
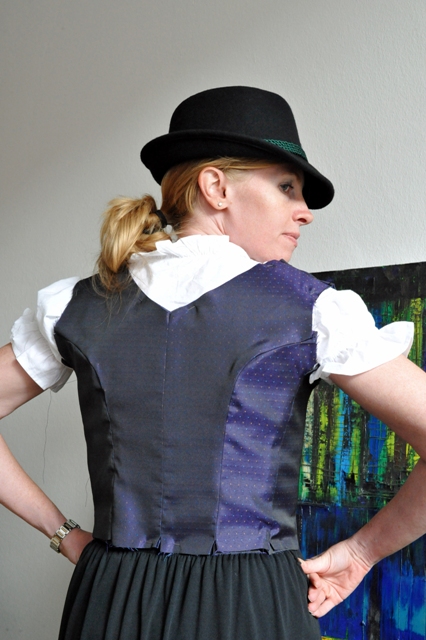
Due to my bodice adjustments, the seams didn't all line up perfectly, but I'm still pleased with the results of my first effort. Here are the front and back views.
As soon as I stopped congratulating myself that the dress was not a total disaster, I quickly learned the ugly truth that the real work was still ahead of me. It took a couple weeks of scouring the internet (English and German) to find out how to make the lovely dirndl trim. The biggest difficulty was not knowing what you call the stuff. (It's called box-pleated trim in at least one version).
But then when I showed Herr J the plan, he correctly pointed out that the apron really didn't go well with the dirndl. And ....back to the drawing board....
After a few more outings to the fabric store, I settled on this purple floral brocade. Sometimes procrastination pays off. As in when I first moved to Germany, there was no drivers' license reciprocity with Texas. And when I finally got around to applying for my German license 3 1/2 years later, they'd signed a treaty and all I needed was a vision test. This time, one fabric store stocked a very limited range of pre-made trim. It was quite new and even the fabric store ladies had no idea what it was called, thus reassuring me that it wasn't just my stupidity in not knowing what to call this stuff.
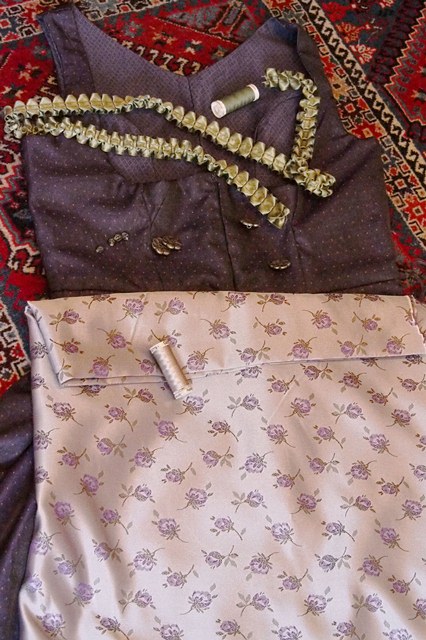
Unfortunately, the trim didn't work out either. I guess I was forcing it, trying to make something match from a very limited number of trims.
At this point I took a very patient Herr J to the fabric store and got his help. After about an hour of trying different things, I settled on a flat braided silver trim that he suggested. And then bought the necessary trimmings and silver thread.
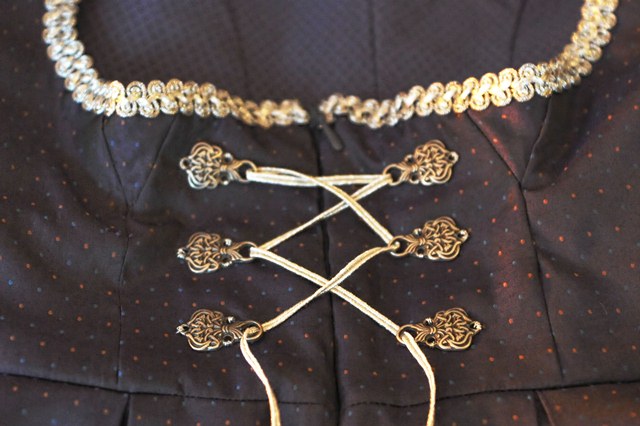
The silver metallic thread was a dream - not as easy to sew with as regular thread, but it blended in perfectly and you can't see where the trim is attached. The final step of sewing on the buttons was a bit scary, since any mistakes would be clearly visible. But, I needed to finish it up before Oktoberfest and had to take the plunge.
I can't count how many trips I made to various stores to buy more of something, or something different. Or tried to ask for something in a store, only to realize that I have no idea what it's called in English, let alone in German. Even though my apron pattern called for pencil pleating tape and the German instructions called it "stiftelband," twice the store staff didn't know what it was. They did refer me to a specialty sewing store...that was of course closed for holidays for the month of August. I stumbled across it in a department store when buying ribbon for the wedding favors.

So finally, after a long adventure, I did finish the dirndl. I'd love to make another one, but have more dirndls that I should have already. The table of trachten fabric does call to me when I pass it in the store. But for now I'm going to concentrate on other projects. Possibly even more crazy than making a dirndl with very little sewing experience...
 Frau A
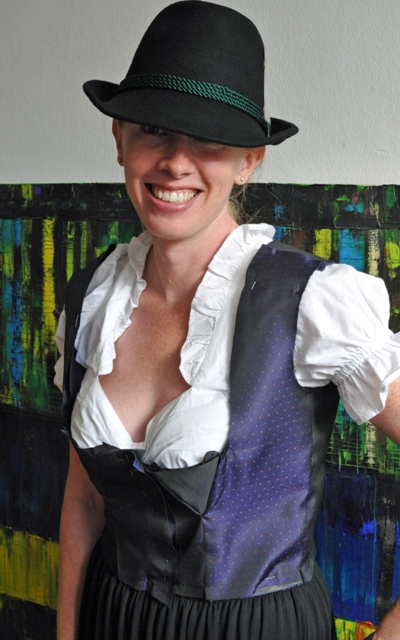

;)
;)
;)
